What Farcaster Frames 2026 Actually Are
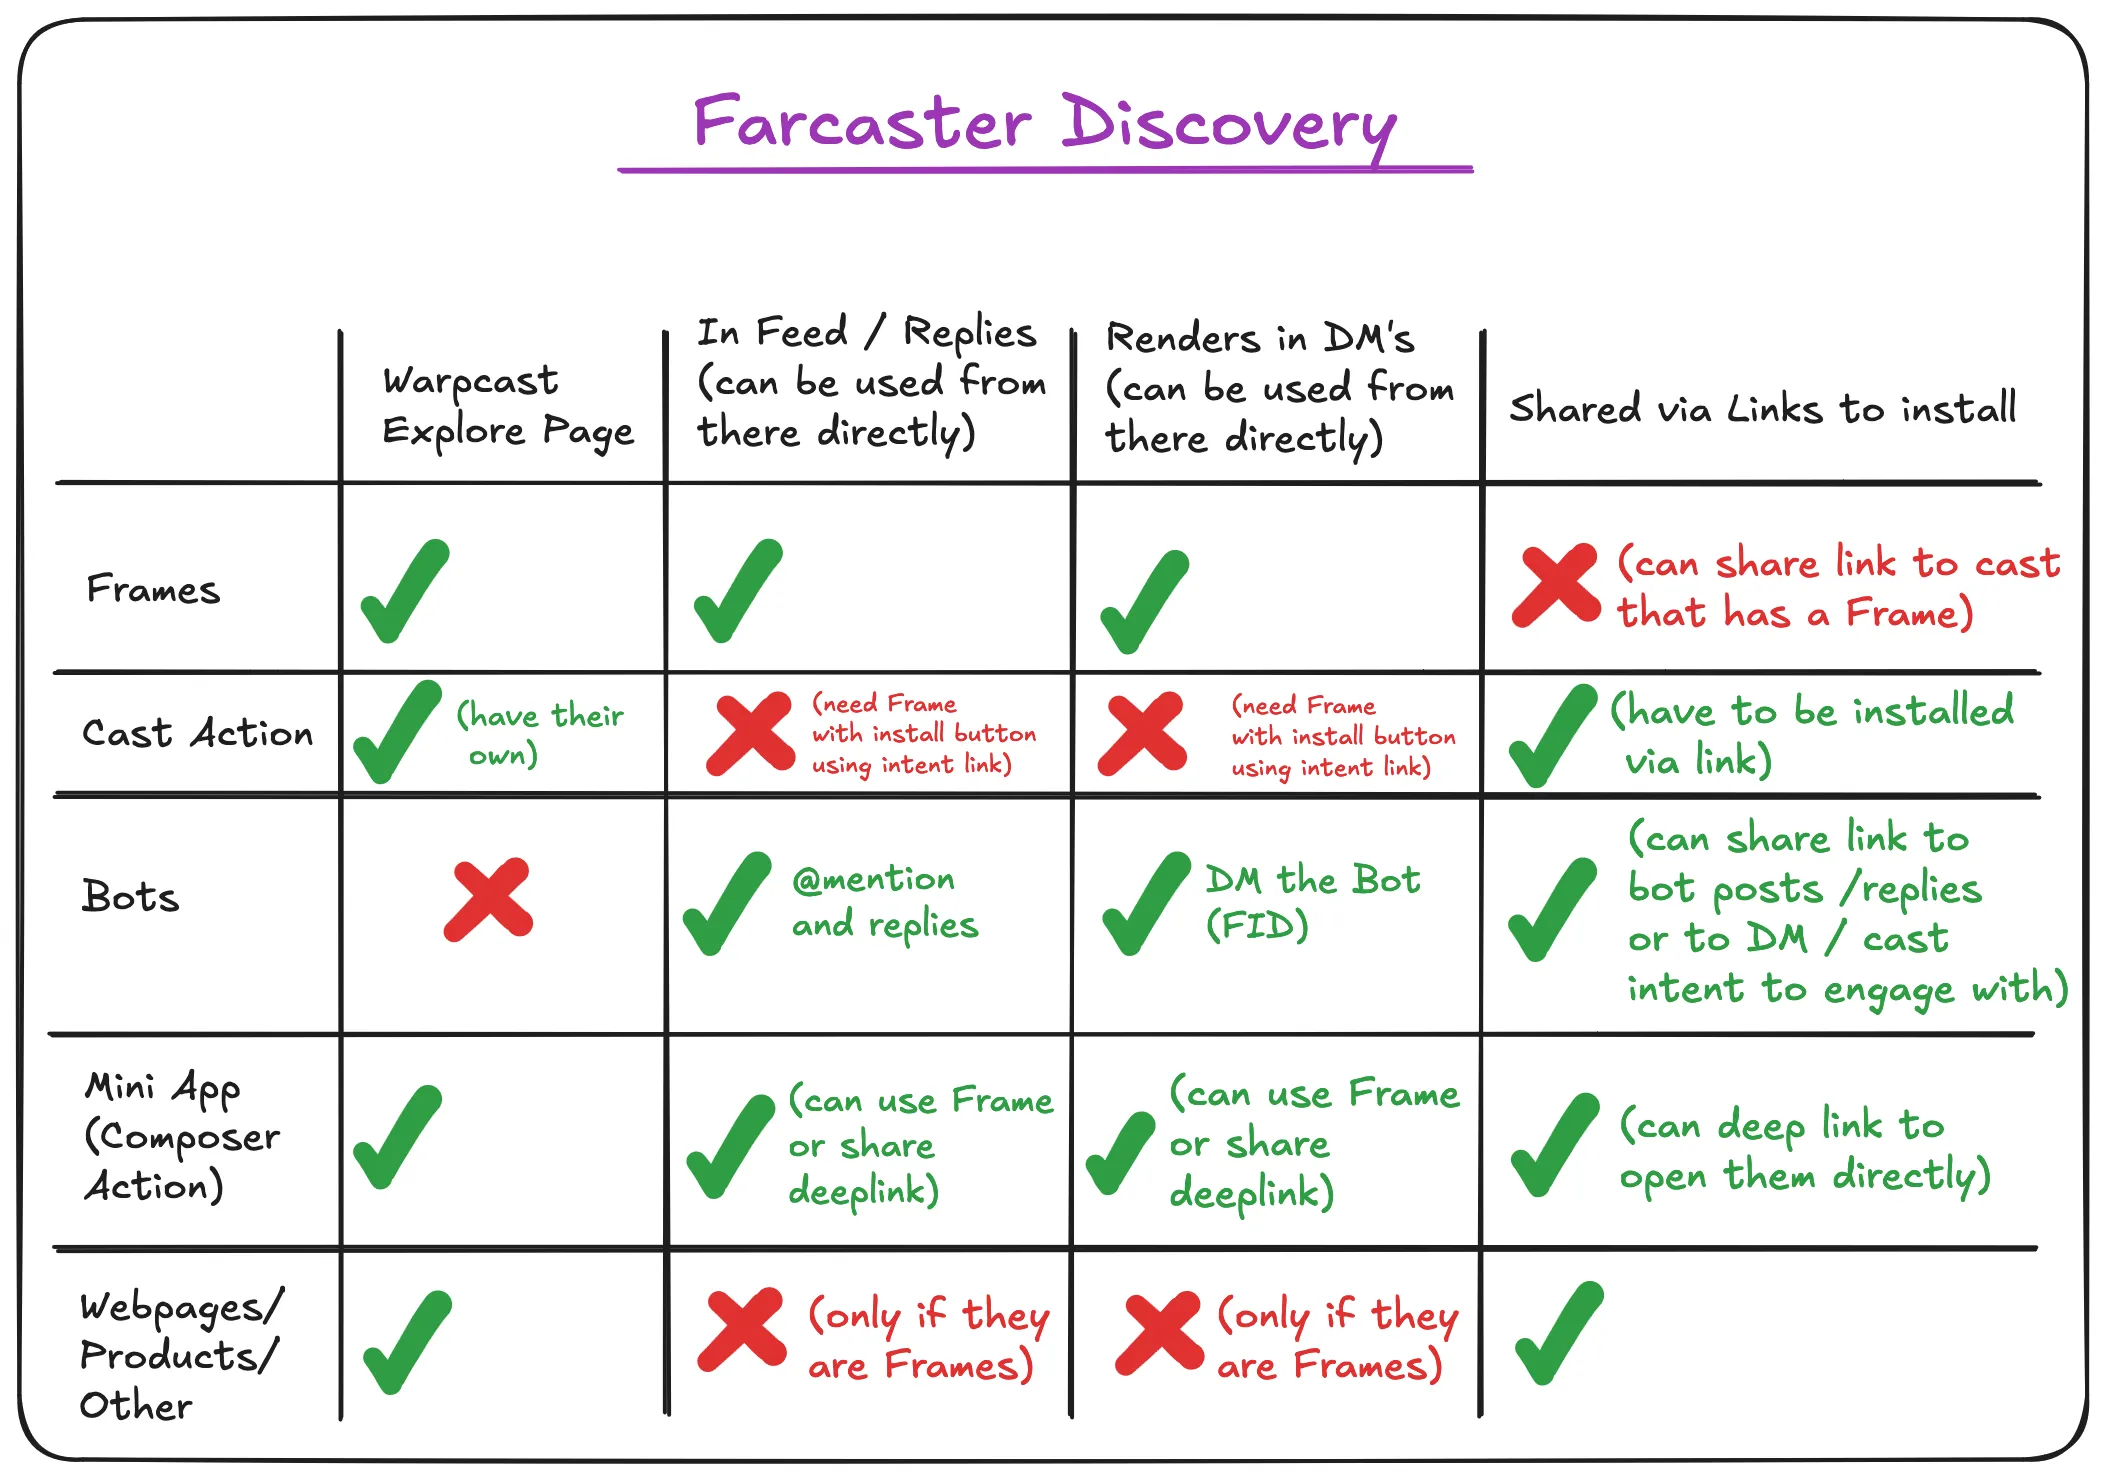
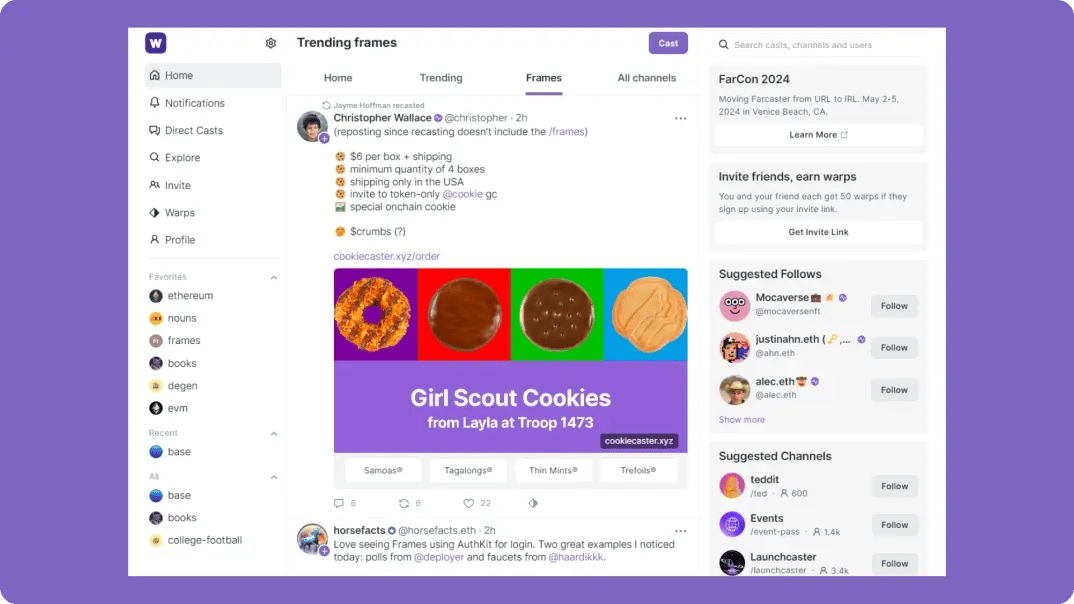
Farcaster Frames are interactive mini-apps embedded directly within social posts on Warpcast. Unlike static Open Graph images that only display metadata, Frames render as full-featured interfaces inside the feed, allowing users to interact with content without leaving the app.
This shift transforms social posts from passive content into active applications. Builders can now create bite-sized experiences that handle complex logic, such as minting NFTs, voting in polls, or executing onchain transactions, all while maintaining the social context of the original post.
The 2026 ecosystem leverages this interactivity to bridge social engagement and decentralized applications. By keeping transactions and interactions within the social layer, Frames reduce friction for users and provide developers with a powerful tool for building onchain social experiences.
Compare top farcaster frame frameworks
Choosing the right tooling depends on your team’s existing stack and how much abstraction you want around the Frame protocol. The ecosystem currently splits between opinionated frameworks like Frog, standard Next.js with custom connectors, and emerging libraries that sit in between.
The following comparison highlights the trade-offs between setup complexity, state management, and onchain integration capabilities for the most common approaches.
| Framework | Setup Complexity | State Management | Onchain Integration |
|---|---|---|---|
| Frog | Low | Built-in hooks | First-class Wagmi support |
| Next.js (Custom) | High | Manual (Zustand/Redux) | Manual Wagmi setup |
| Farcaster.js | Medium | SDK-managed | Hub-centric API |
Frog abstracts the boilerplate required to handle frame interactions. It provides built-in hooks for state management and integrates seamlessly with Wagmi, making it the fastest path to a functional frame if you are comfortable with its specific conventions.
Standard Next.js offers maximum flexibility but requires you to build the connector layer yourself. The frames-v2-demo on GitHub serves as a reference for this approach, demonstrating how to wire up a custom Wagmi connector and handle Farcaster wallet signatures manually. This is ideal for teams that need fine-grained control over the request lifecycle.
Farcaster.js takes a different approach, focusing on hub communication rather than just the frame UI. It is useful when your application logic relies heavily on reading or writing directly to the Farcaster hub, though it requires more manual work to handle the frame-specific HTTP interactions.
Set Up Your Development Environment
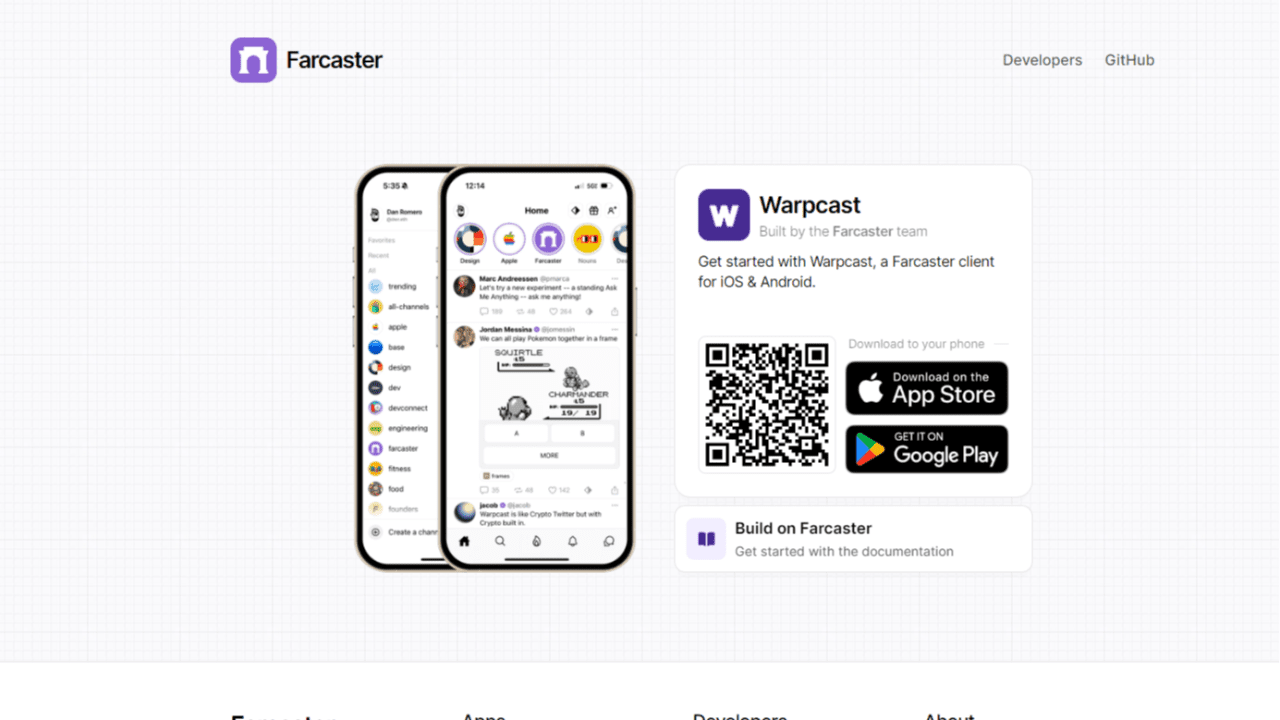
Before writing your first interactive frame, you need a working local server. Frames are rendered as standard web pages, so you can use any modern JavaScript framework. We recommend Next.js because it handles routing and API routes cleanly, making it easy to serve both the frame metadata and the interaction logic.
Install Node.js and Create a Project
You need Node.js (LTS version) installed on your machine. Open your terminal and run the following command to initialize a new Next.js project:
npx create-next-app@latest my-farcaster-frame
When prompted, choose TypeScript for type safety and the App Router for modern routing. Navigate into your new directory:
cd my-farcaster-frame
Add Farcaster Dependencies
Your frame needs to verify signatures and interact with Farcaster hubs. Install the necessary packages:
npm install @farcaster/hub-web viem
@farcaster/hub-web provides the client libraries for connecting to Farcaster nodes, while viem helps manage Ethereum-style signatures for account verification.
Configure the Development Server
Start the local development server to see your changes in real-time:
npm run dev
Visit http://localhost:3000 to confirm the default Next.js landing page loads. This is your base environment. From here, you will replace the default page with your frame's HTML structure.
Download the LTS version from nodejs.org. Verify the installation by running node -v and npm -v in your terminal. This ensures you have the runtime and package manager required for Next.js.
Run npx create-next-app@latest my-frame. Select TypeScript, App Router, and Tailwind CSS. This scaffolds the directory structure with all necessary configuration files.
Run npm install @farcaster/hub-web viem. These packages allow your server to validate frame actions and read data from the Farcaster network.
Run npm run dev. Open localhost:3000 in your browser. You should see the default Next.js welcome page, confirming your environment is ready for frame development.
Write your first interactive frame
Building an interactive frame means defining the UI state and handling user inputs. In Farcaster v2, frames are rendered as Next.js applications that respond to button clicks by updating their state or performing on-chain actions. We will use the official frames.js library to manage this lifecycle.
Every interactive frame starts with a handler function. This function receives the frame context and the current state. It determines what the frame looks like when the user first sees it or when they return after an interaction. The handler must return a FrameResponse object containing the next state and optional buttons.

Before handling clicks, you must define the initial state. This includes the image, title, and the buttons available to the user. For a simple interactive frame, you might start with a single button that increments a counter. The state is serialized and sent to the Farcaster hub, allowing the client to render the frame without a full page reload.

When a user clicks a button, the frame handler is triggered again with the updated state. You check which button was clicked and modify the state accordingly. For example, if the button was clicked, increment the counter and update the image or text to reflect the new value. This creates a seamless, app-like experience within the social feed.
Here is a minimal example of a frame handler in TypeScript. This code demonstrates how to manage state and respond to a button click.
This handler listens for POST requests, parses the user's interaction, updates the count, and returns the new frame. The state object is preserved across interactions, allowing you to build complex logic without managing external databases.
For a visual walkthrough of this process, see the official tutorial video below.
By following these steps, you can create a fully interactive frame that responds to user actions in real-time. The key is to keep the state management simple and the UI updates consistent.
Test and Deploy Your Frame
Before launching your Farcaster Frame to the public, you need to verify that the metadata renders correctly and that all interactive elements respond as expected. The Farcaster ecosystem provides a dedicated debugger tool that simulates the Warpcast client environment, allowing you to catch rendering errors and logic bugs without publishing.
Validate with the Farcaster Debugger
The debugger is your primary testing ground. It loads your Frame's initial state and lets you interact with buttons and inputs just as a user would on Warpcast. This is where you verify that the initialState matches your expected data and that the next state transitions occur correctly when a button is clicked.
Navigate to the Farcaster Frame Debugger and paste the full URL of your deployed Frame. The debugger fetches the frame.html file and extracts the Open Graph meta tags to render the initial view. Check that the image, title, and button labels appear exactly as intended.
Click each button in the debugger to ensure it triggers the correct actionUrl or postUrl. If your Frame uses state management, verify that the next state updates correctly after an interaction. The debugger will show you the new HTML response, allowing you to inspect the updated UI before it goes live.
Ensure your images are under 1MB and use acceptable formats like JPEG or PNG. The debugger will warn you if your images are too large or if your meta tags are missing required fields like og:image or fc:frame:image. Fix any validation errors here to prevent rendering issues on Warpcast.
Pre-Deployment Checklist
Once the debugger shows a stable and interactive experience, run through this final checklist to ensure a smooth public launch.
Deploy to Production
Your Frame is now ready for the world. Since Frames are hosted on standard web servers, deployment is straightforward. Push your updated code to your preferred hosting provider (Vercel, Netlify, or your own server). Once the new version is live, the Frame will automatically update for all users who interact with it, as the client fetches the latest metadata on each load.
No comments yet. Be the first to share your thoughts!