
Farcaster Mini Apps are rapidly emerging as the cornerstone of decentralized social innovation, enabling developers to deliver interactive, native-like experiences directly within the Farcaster ecosystem. Whether you’re a seasoned Web3 builder or exploring decentralized social for the first time, mastering Farcaster Mini App development opens up new frontiers for user engagement and protocol composability. In this guide, we break down the essential steps to build and launch your own Farcaster Mini App, leveraging the latest tooling and best practices from the ecosystem.
Preparing Your Development Environment for Farcaster Mini Apps
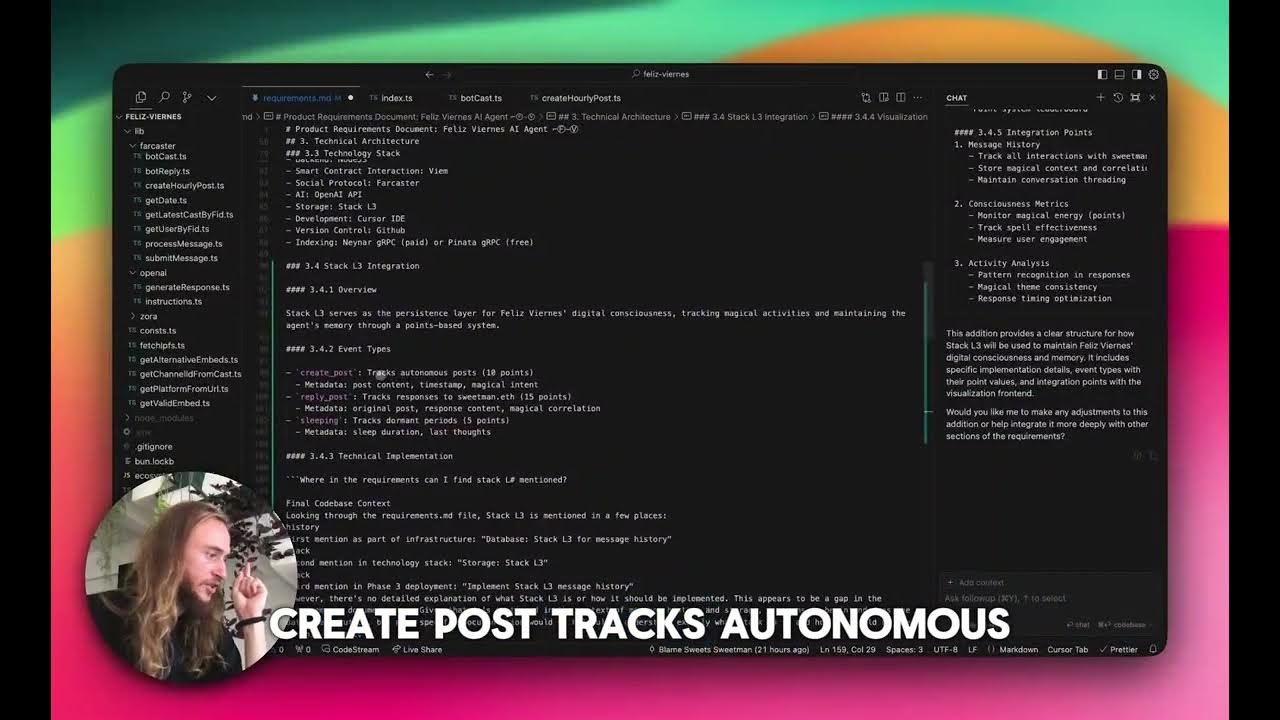
Before writing a single line of code, it’s critical to set up a robust environment. Farcaster Mini Apps are built as web applications, so Node. js (version 22.11.0 or higher) is required. Download the latest LTS release from nodejs.org. For dependency management, npm, pnpm, or yarn are all compatible choices. This foundation ensures optimal compatibility with Farcaster’s SDKs and rapid iteration cycles.
Next, enable Developer Mode in your Farcaster account. Log in on desktop or mobile, then navigate to the Developer Tools Settings and toggle on Developer Mode. This unlocks the developer section and gives you access to Mini App-specific tools.
Bootstrapping Your Farcaster Mini App Project
With your environment ready, you have two streamlined options for project creation:
- Farcaster CLI: Run
npm create @farcaster/mini-appin your terminal. This scaffolds a new project with all essential dependencies and configurations. - Neynar Starter Kit: For a more feature-rich setup, execute
npx @neynar/create-farcaster-mini-app@latest. This option includes automatic signature generation and localtunnel hosting for instant testing.
Both methods provide a solid foundation, but Neynar’s kit is particularly valuable if you want to iterate quickly and test your app in a live-like environment. For detailed walkthroughs, refer to resources like this practical guide for crypto developers.
Configuring Your Mini App: Manifest and Assets
Every Farcaster Mini App must include a manifest file located at /. well-known/farcaster. json in your public directory. This JSON file defines your app’s metadata, such as name, icons, splash images, and tagline. Here’s a template to get started:
Example farcaster.json Manifest File
Below is an example of a compliant `farcaster.json` manifest file for your Mini App. This manifest describes the app's metadata, entry point, permissions, and icons, ensuring it meets Farcaster's requirements.
{
  "name": "My Mini App",
  "description": "A simple Farcaster Mini App that displays trending posts.",
  "version": "1.0.0",
  "author": {
    "name": "Jane Developer",
    "url": "https://janedeveloper.com"
  },
  "entry_point": "https://my-mini-app.com/index.html",
  "permissions": [
    "read_casts",
    "write_casts"
  ],
  "icons": [
    {
      "src": "/image/legacy/wp/29/assets/1fe3213b25b20e1c-icon.png",
      "sizes": "64x64",
      "type": "image/png"
    }
  ]
}
Ensure you update the fields such as `name`, `description`, `author`, and `entry_point` to match your Mini App's details. The permissions array should only include the capabilities your app needs.
Replace the placeholders with your app’s branding and URLs. Asset compliance is non-negotiable, so use the Mini App Asset Generator to create correctly sized icons and splash images. Aligning with these standards ensures your app appears polished and discoverable within Farcaster’s interface.
Developing and Testing: SDK Integration
With the skeleton in place, it’s time to build out functionality. If your starter kit doesn’t include it, install the MiniApp SDK using npm install @farcaster/miniapp-sdk. Import and initialize the SDK in your main entry file:
Initializing the Farcaster Mini App SDK and Signaling Readiness
To begin integrating the Farcaster Mini App SDK into your project, you first need to initialize the SDK and signal when your app is ready. Below is a JavaScript example demonstrating these steps:
import { FarcasterSDK } from 'farcaster-miniapp-sdk';

// Initialize the SDK
const sdk = new FarcasterSDK({
  appId: 'YOUR_APP_ID', // Replace with your actual App ID
  environment: 'production' // or 'development'
});

// Notify the SDK that your app is ready
sdk.actions.ready();
Make sure to replace `'YOUR_APP_ID'` with your actual application identifier. Calling `sdk.actions.ready()` is essential for letting the Farcaster platform know that your mini app is fully loaded and operational.
This call signals that your app is loaded and ready for user interaction, hiding the splash screen seamlessly.
For local testing, run npm run dev to start your development server. To test inside Farcaster, use cloudflared tunnel --url https://localhost: 3000 or a similar tunneling tool to expose your local server via a public URL. This allows you to validate your app’s performance and user experience within the actual Farcaster embed tool.
Next Steps: Deployment and Discovery
This covers the groundwork for building and configuring your Farcaster Mini App. In the next section, we’ll dive into deployment strategies, manifest registration for app discovery, and advanced tips for optimizing user engagement within the decentralized social graph.
Once your Farcaster Mini App has been thoroughly tested in a local environment, the final stages are deployment and registration. These steps are critical for making your app accessible to the Farcaster community and ensuring seamless discoverability within the protocol’s social layer.
Deploying Your Farcaster Mini App
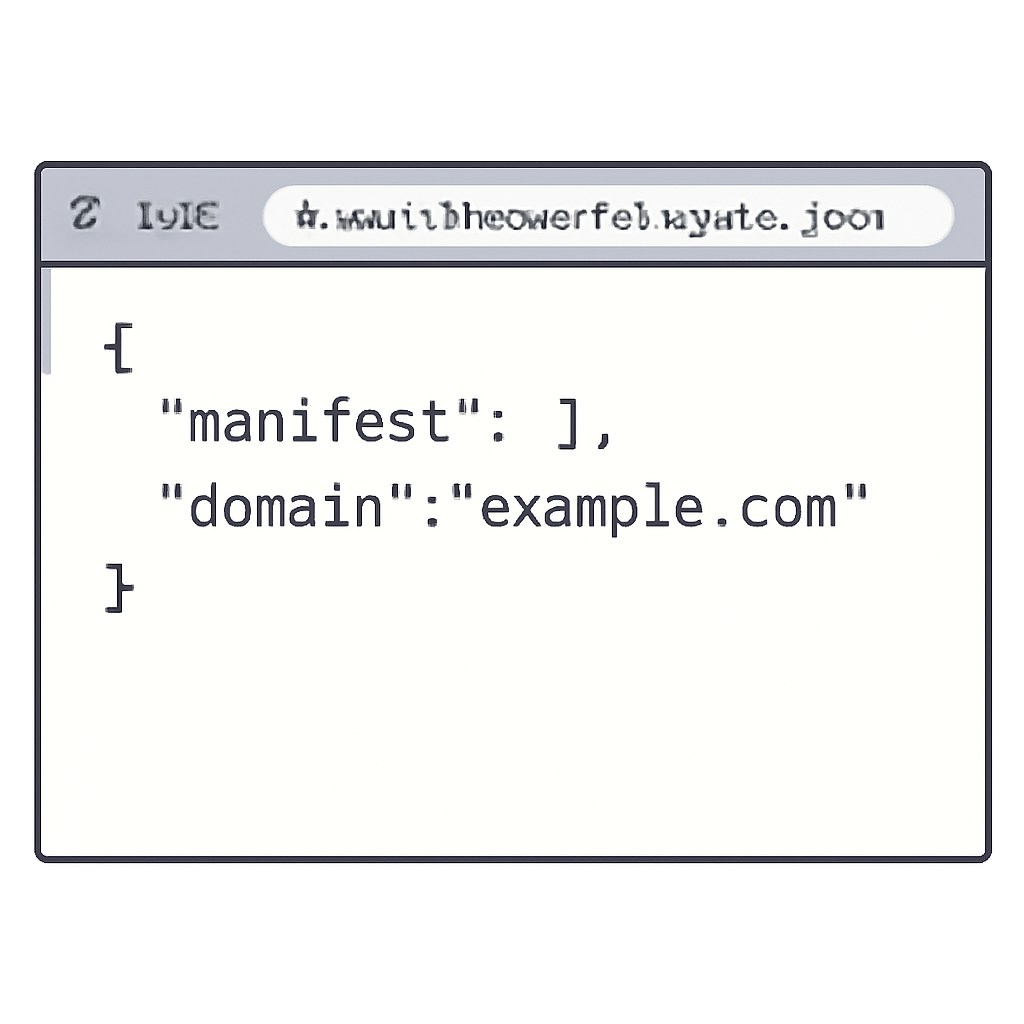
Select a reliable hosting service, Vercel, Netlify, or AWS are popular choices among developers for their robust CI/CD pipelines and global edge delivery. The most crucial requirement is that your /. well-known/farcaster. json manifest remains publicly accessible at your domain root. Double-check this endpoint with tools like curl or browser-based validators to avoid failed registrations due to misconfigured paths.
After deployment, validate your app’s public URL within the Farcaster embed tool. This step is non-negotiable for confirming that your assets render correctly and that SDK calls (such as sdk. actions. ready()) function as intended in a production context. For detailed deployment strategies and troubleshooting, reference this practical guide for crypto developers.
Registering and Launching Your Mini App
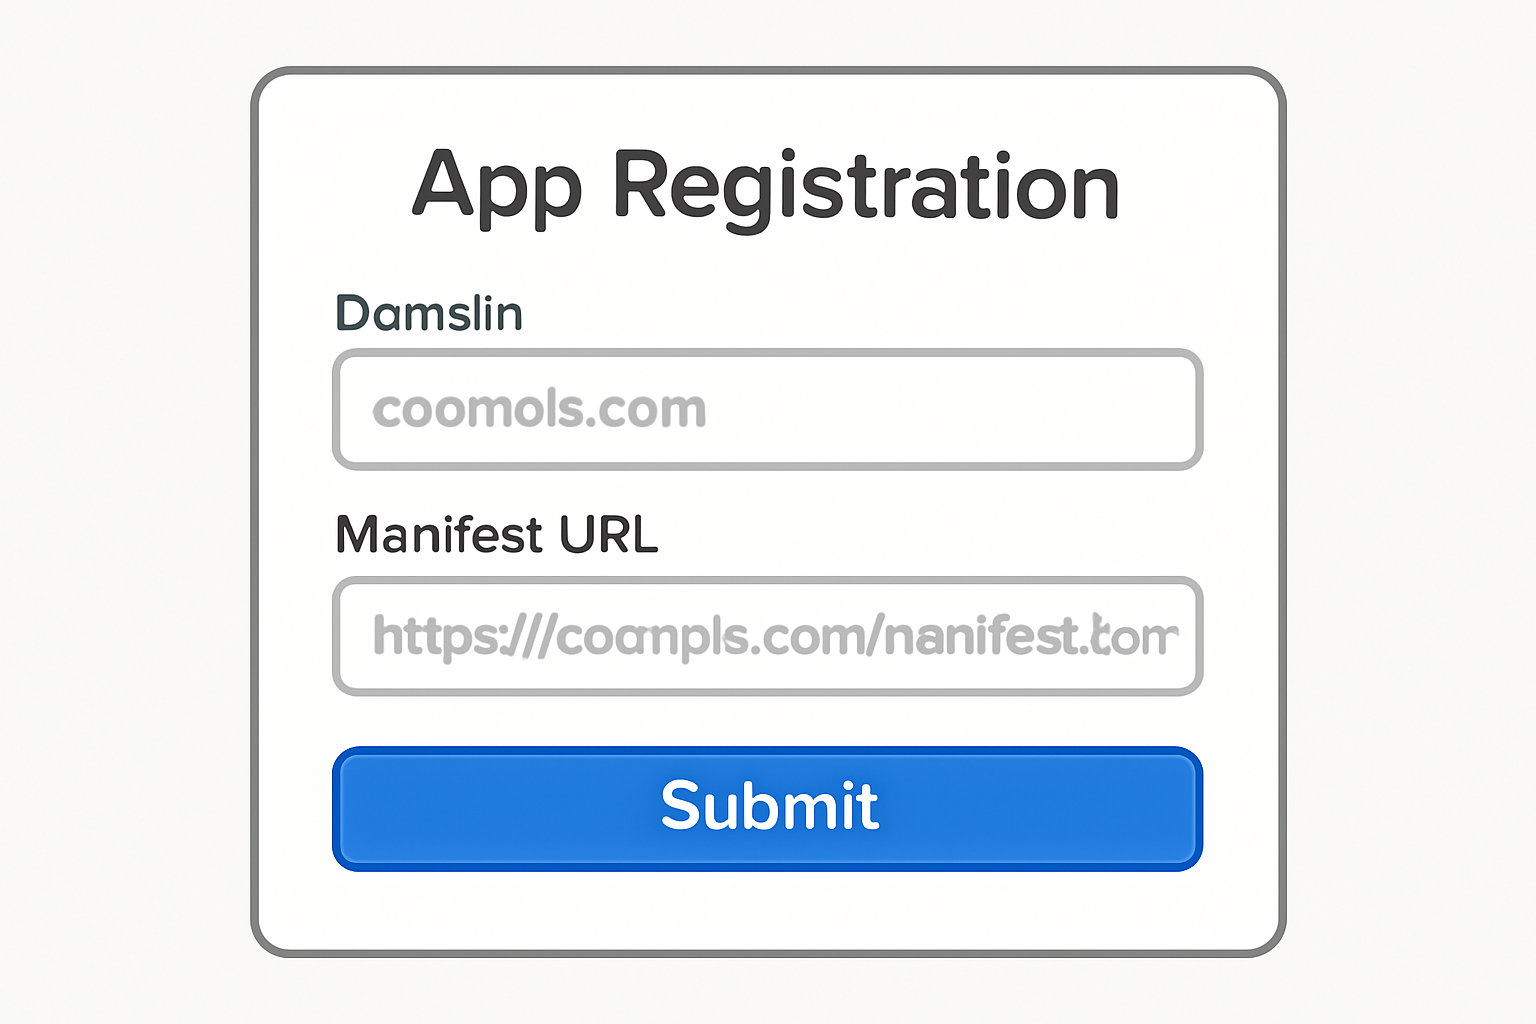
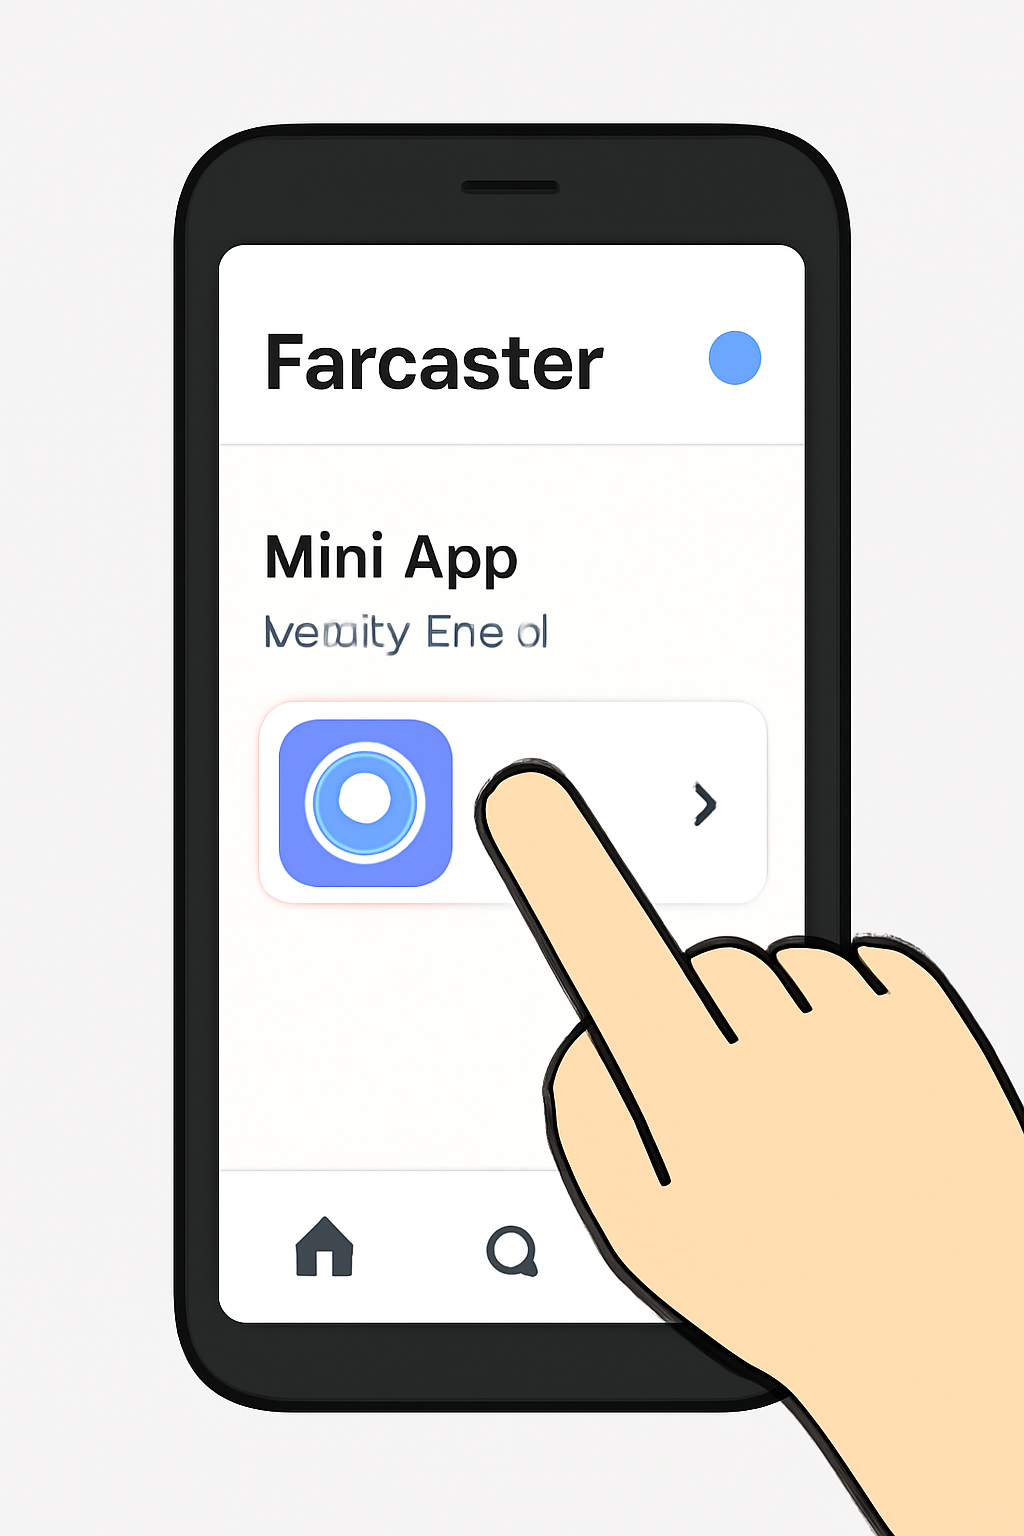
With your app live, head to the Farcaster developer portal and submit your manifest URL for registration. This step makes your Mini App discoverable by users across the Farcaster ecosystem. Registration also enables advanced integrations, such as deep linking, notifications, and participation in trending feeds.
To maximize engagement, consider iterative launches: start with a closed beta among trusted users before opening to the broader community. Gather feedback early on UX pain points and feature gaps. Viral growth on Farcaster is often driven by rapid iteration and responsiveness to community input.
Deploy and Register Your Farcaster Mini App: Step-by-Step Workflow
Optimizing for Virality and User Retention
Building a technically sound app is only half the battle, success in decentralized social requires understanding network dynamics. Viral Farcaster Mini Apps leverage mechanisms like social sharing, gamified incentives, and integration with trending topics. Use hooks provided by the MiniApp SDK to trigger cast prompts or share actions at key moments in your user journey.
Analytics integration is another underutilized edge. While privacy is paramount, aggregate metrics on engagement and retention help you iterate features that resonate with your audience. For inspiration on building viral apps, see case studies and tips at this beginner’s guide for SocialFi enthusiasts.
Pro tip: Launch around major events or protocol upgrades to ride organic waves of user activity.
No-Code and Low-Code Alternatives
If you’re not a developer or want to iterate quickly without custom coding, explore no-code platforms now integrating Farcaster Mini App templates. These tools allow creators to launch interactive experiences using drag-and-drop interfaces and prebuilt widgets, ideal for rapid experimentation or community-driven projects. For a hands-on walkthrough tailored to non-coders, see this step-by-step guide for non-coders.
Final Thoughts: The Future of Decentralized Social Apps
Farcaster Mini App development is more than a technical exercise, it’s an opportunity to shape the next wave of user-owned social experiences. By following best practices in deployment, registration, and user-centric design, you can build apps that thrive within the decentralized social graph. Stay engaged with the Farcaster developer community for updates on SDK improvements, new discovery mechanisms, and cross-protocol integration opportunities.




No comments yet. Be the first to share your thoughts!